Microscopes: How Do They Work?
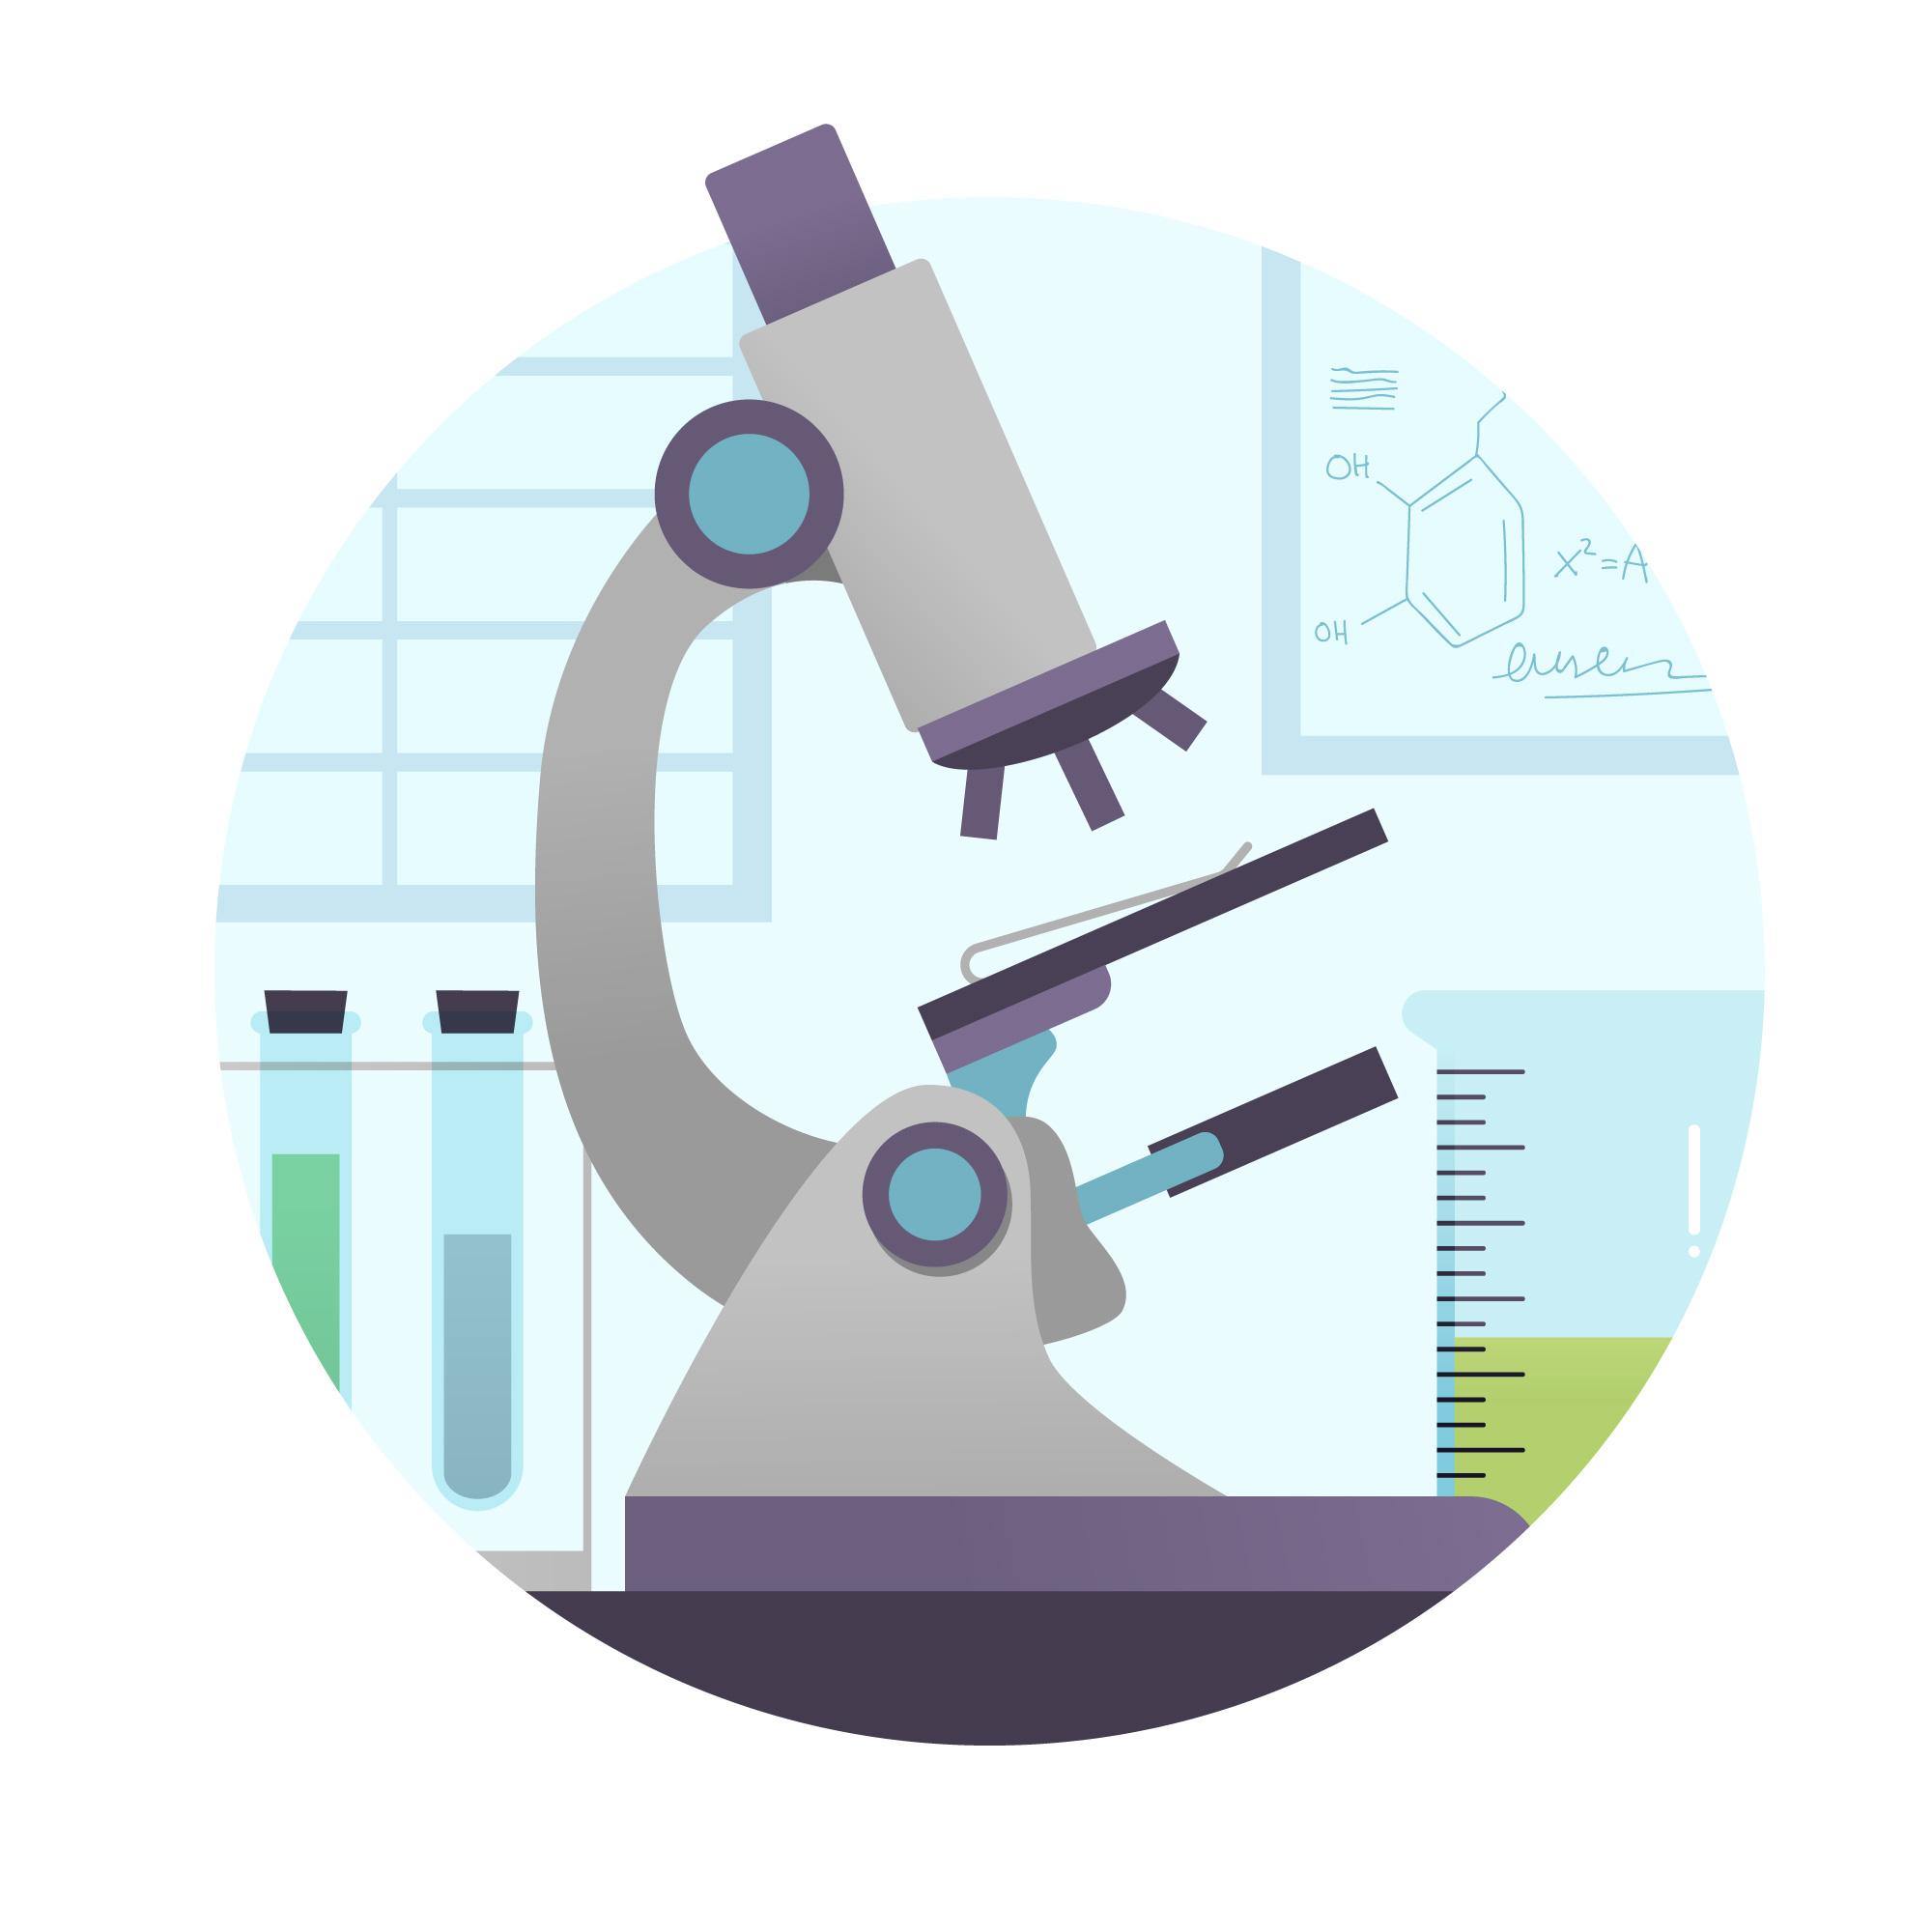
Image from freepik
Article by Jeroen Schmidt
You’ve probably seen microscopes before, even if you’ve never used them. Perhaps the mad scientist from your favourite cartoon used some to build his dastardly gadgets, or your school might have some for the occasional science project or class?
But how do they actually work?
At its heart, microscopy is a fairly simple idea – in fact, the most basic microscope is a magnifying glass just like the ones you can buy at the store.
Microscopes work because light moves differently through different materials, and when light passes from one material into another, it will change direction. The same thing happens when you try to look at things underwater: when light moves from underwater to above water, it will change direction slightly, which is why things underwater so often look like they’re physically shifted, or how the depth looks ‘off’.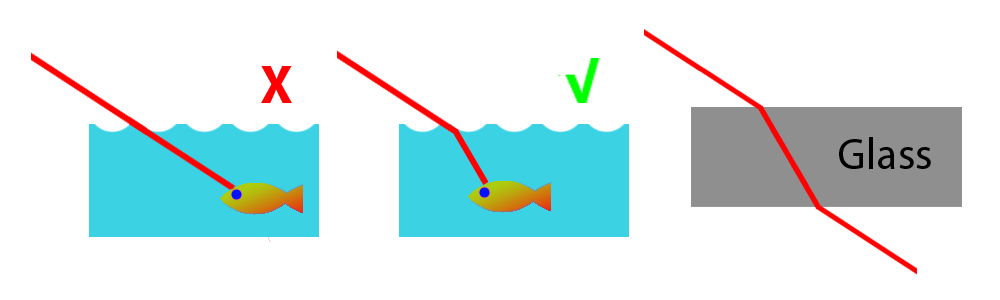
Because light always ‘bends’ the same way when it goes into or out of a different material, a little bit of clever work can use this idea to make a lens just like the one in a magnifying glass. Many lenses are made of glass, but there are also plenty of uses where plastic works better.
When a beam of light goes into the glass of the lens it bends away from the surface, and bends towards it when it then leaves the glass. In a lens, the curvature of the glass means that the angle of the incoming light beam relative to the surface changes from when it enters the glass to when it leaves, so the light will always leave the lens at a different angle than it entered.
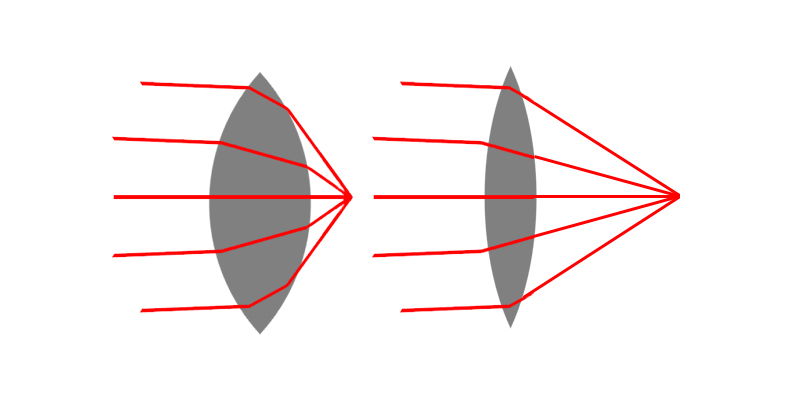
For a rounded (or ‘convex’ – image on the left) lens, light that starts in a very small spot can be spread over a much larger beam – making the thing you’re looking at appear larger. But we’re not quite done yet: we can also make a hollow (or ‘concave’ – image on the right) lens that ‘shrinks’ what you see instead of making it look bigger! This gives us even more ways to play with light.
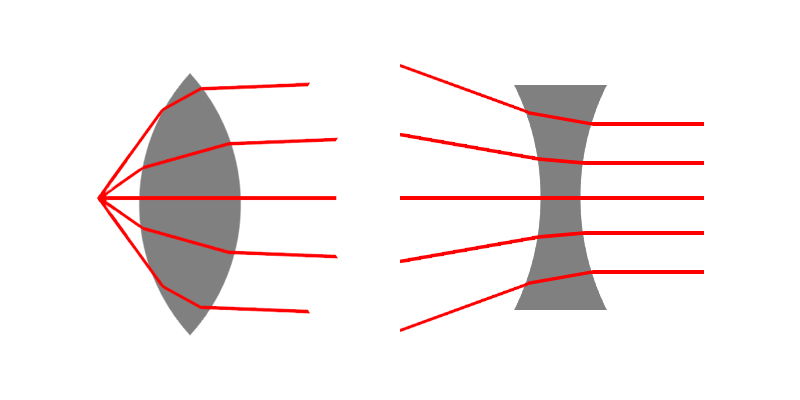
This might look a bit tricky at first, but just try following a single beam of light as it goes through the lens – you’ll see it always follows the same behaviour: the light bends towards the glass when it goes from air to glass, and away from it when it goes from glass to air.
In a microscope, we put together several of these lenses to make our picture bigger and bigger with each step. It’s often better to use a lot of lenses instead of just one or two really big and strong ones. For example, a very strong lens might make it so that you need to put what you’re looking at very close to the lens, while using a series of weaker lenses means you don't.
But, when put together in the right way, you can get a microscope that magnifies what you’re looking at to hundreds of times larger than the original. For the kind of microscopes scientists use in a lab or hospital, you shouldn’t be surprised if there are almost a hundred lenses packed into a single microscope!
The difficulty with this kind of setup is that everything needs to fit together just right. It’s easy for a lens to make things blurry, which is caused by the so-called ‘focal point’ of a lens. Each lens has a focal point some distance away from the lens itself, and the stronger the lens, the closer this point is. How close or how far this point lies tells you how strongly your lens bends the light: the focal point is the point at which the light beams in the image below meet.
Here, the left lens is stronger than the right, since it bends the light more strongly. Getting a lens that is too strong or too weak means that at the same distance, the light that should go into a single spot now instead goes into a wider area… and this blob of light is the reason things look blurry!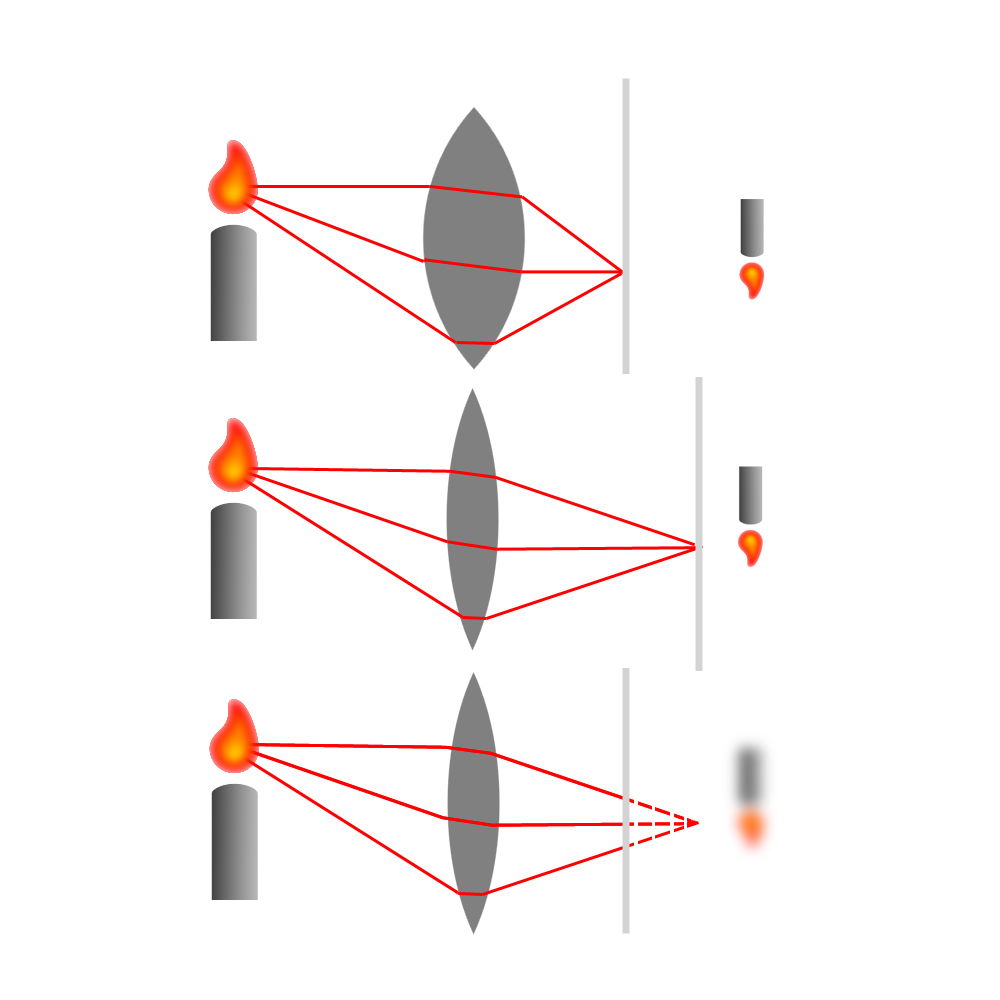
Here, the first lens is fairly strong and focuses light close to itself. The second is weaker, and focuses light farther away – and in the last picture, you can see how putting your camera, your paper, or your eye too close to the lens makes the image blurry. You can also see that, if the thing you’re looking at is farther away than the focal point of your lens, it’s turned upside down.
You might already know a bit about the problem of lenses with the wrong focus: this is the same reason that some people need glasses. The eye has a lens itself (the part of your eye right at the very front, inside the pupil), and for some people this lens is just a little bit too strong or too weak. This means that the light they see doesn’t reach the back of their eyes (which is what we ‘see’ with) in quite the way it should, making it blurry.
A set of glasses is essentially just a pair of lenses that bend the light just the way it needs to be so it all goes to the right spot in your eyes, just like we use lenses in a microscope. Of course, the lenses in someone’s glasses aren’t as strong as a magnifying glass or a microscope, but if you’re careful you can still see how they make images on the other side look just a little bit bigger or smaller.
This same problem is also why taking a picture with a camera, or your phone, or indeed a microscope means you need to focus on one thing at a time – you can’t get a clear picture of something very close and something far away at once. So either you can take a picture of a person, or the mountain in the distance… but whichever one you pick, the other is going to be blurry because the light smears out at the other side of your lens. When you’re using microscopes, this can make it very difficult to get your entire picture ‘in focus’, and scientists often have to accept pictures where a lot of the background is very blurry.
Now that we have our lenses and we can put them in the right order (without making everything blurry), all that’s left to decide is what to look at – and how. In most cases, simply shining a light onto your item and watching it from above is more than enough, but for very thin things, such as a plant leaf, a thin sheet of paper, and so on, it can actually be easier to look through your item, like this:
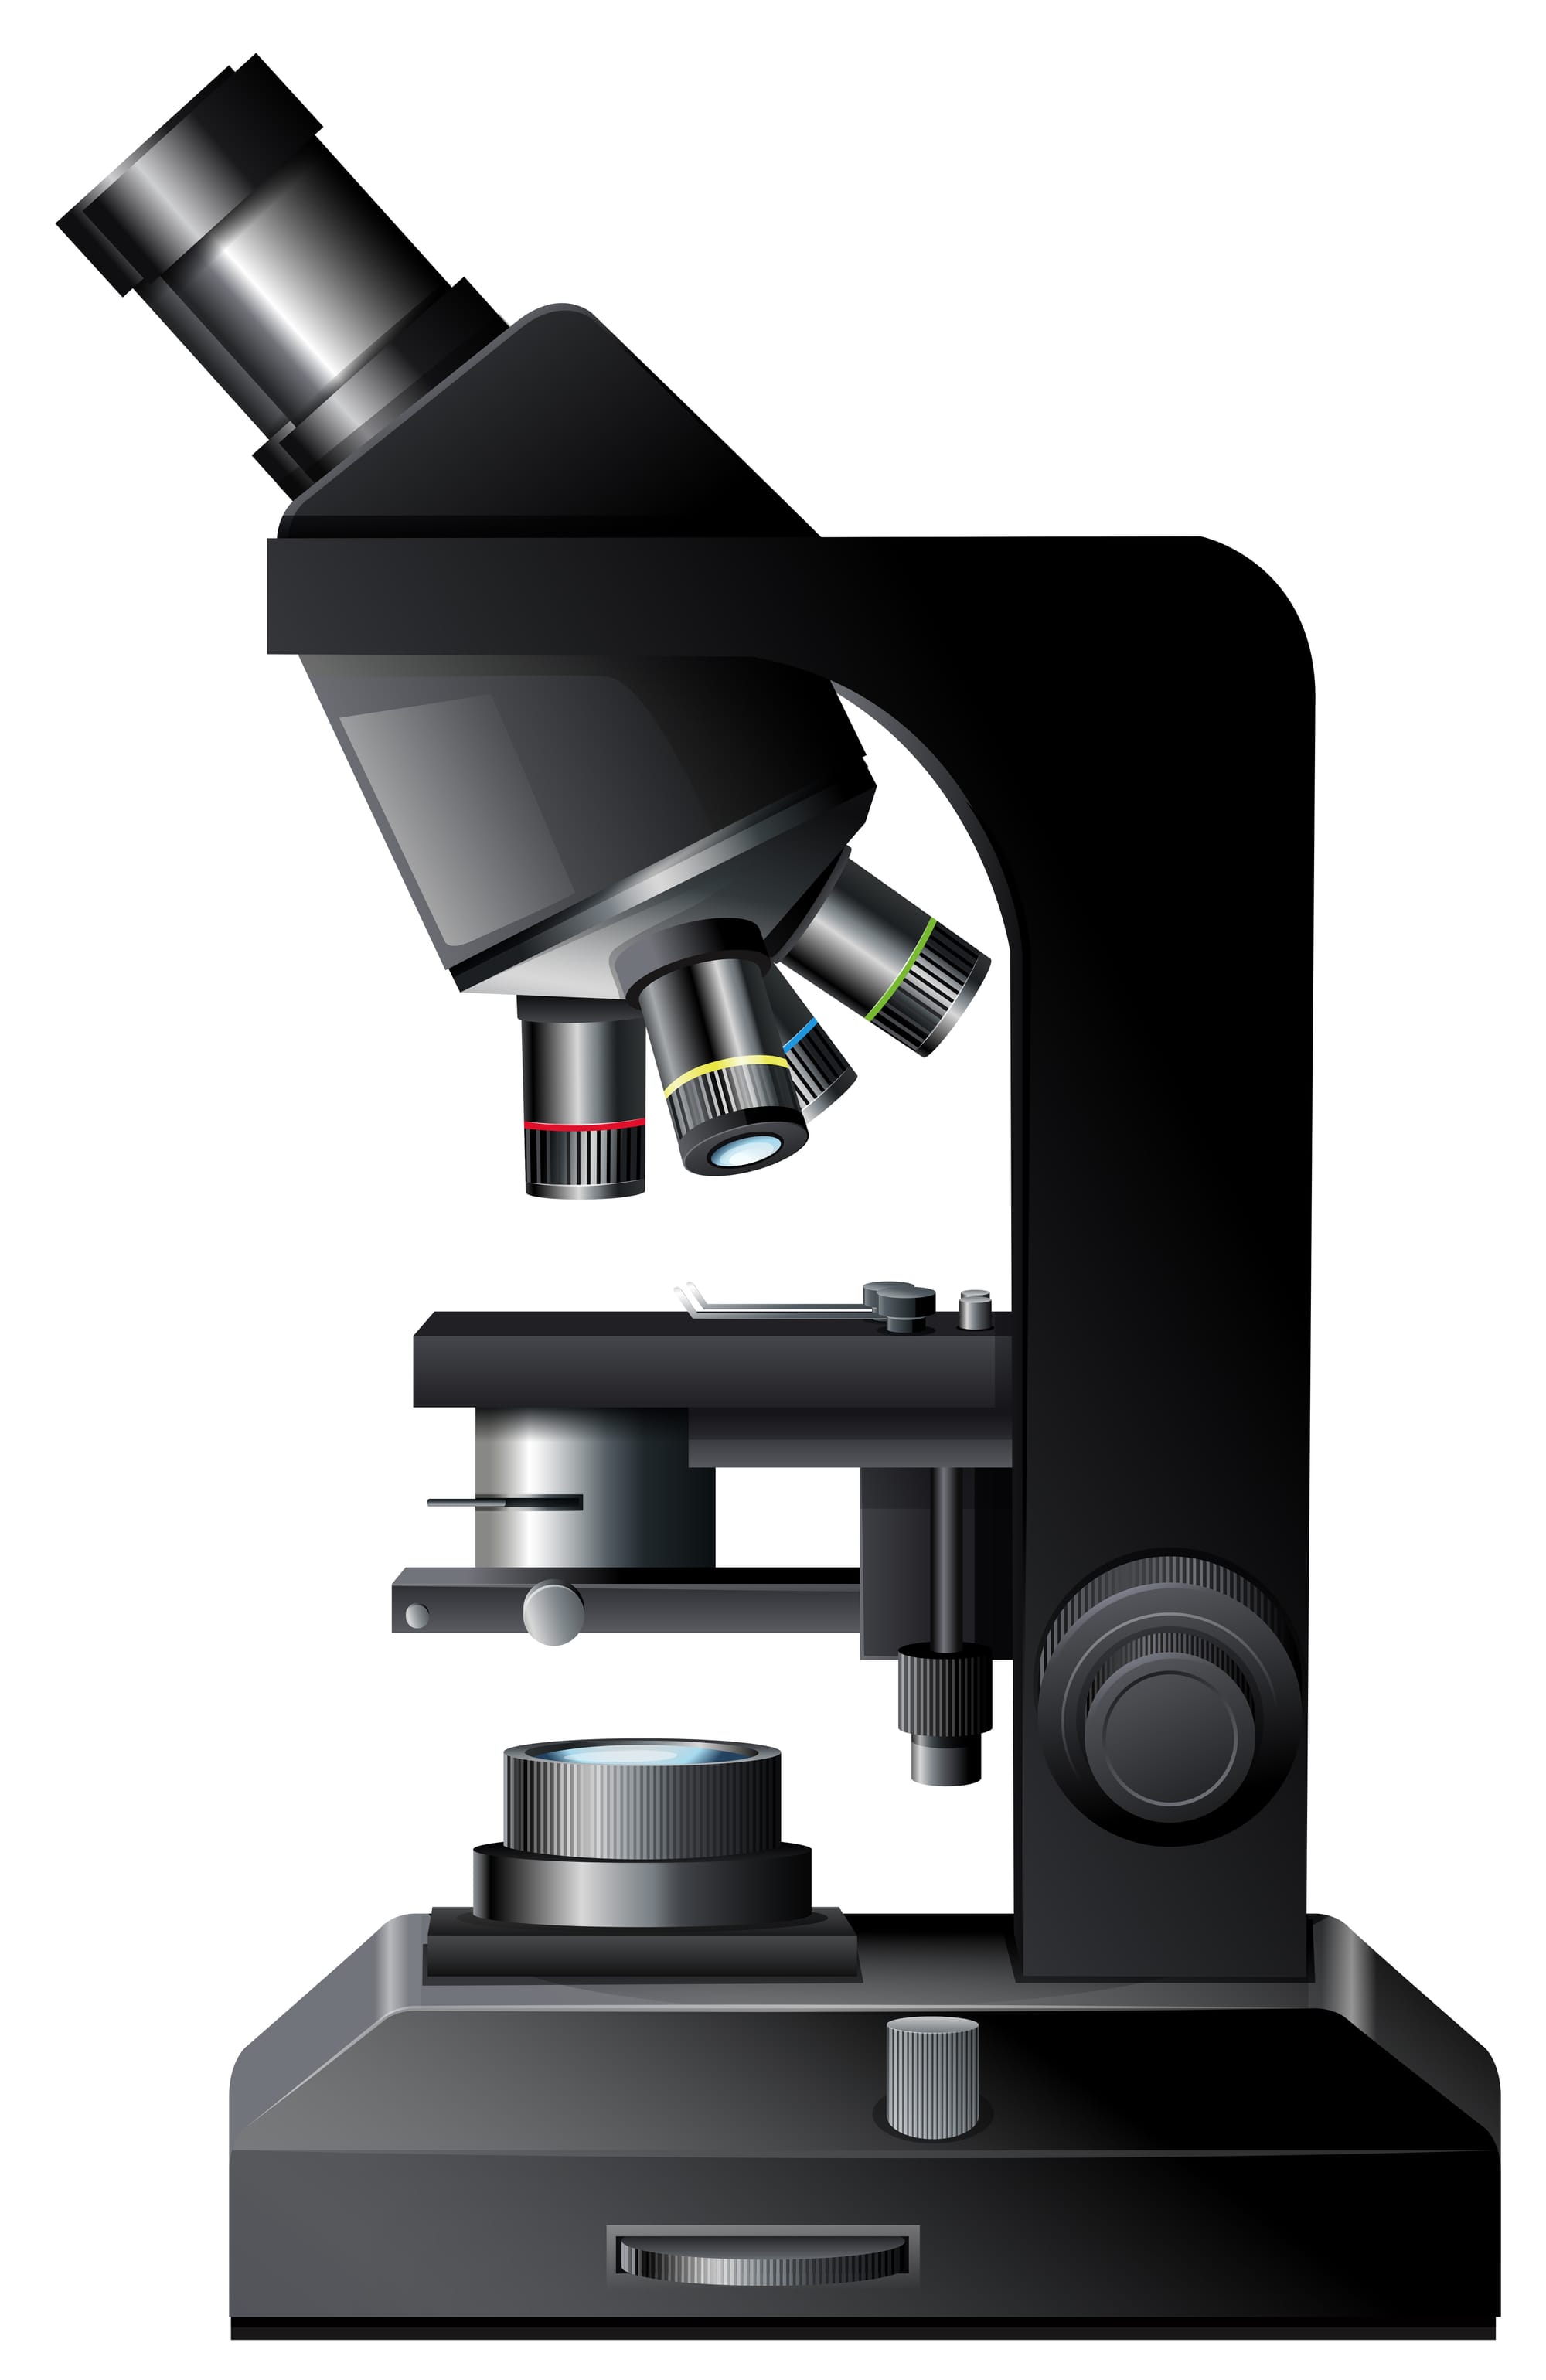
Image from brgfx
The thing you want to look at (say, a leaf or a piece of paper) is put on the little table in the middle. Then the light shines from the lamp mounted on the bottom up onto your sample and through it, continuing on into the lenses (the level magnification can be changed by picking the red, blue, yellow or green lens), and eventually out through the binoculars at the top where you’ll see what you’re looking at.
And that’s how microscopes work! Well, the most common ones, anyway, since scientists are always looking for ways to improve their gadgets. If you’re interested in more microscopy related stories, get in touch. Of course, if you’re very enthusiastic, simple microscopes that you can connect to a computer are quite cheap online, and can be a nice way to start doing some simple science yourself – you’d be surprised how complicated every-day things can be when you look really closely.